Owl Softies Sewing Pattern – Photo Tutorial
Posted under BlogToy-making TIPS & TUTORIALS on 2012-06-29 06:26:37
I have put together a step-by-step photo tutorial to show you just how easy it is to make an owl softie from my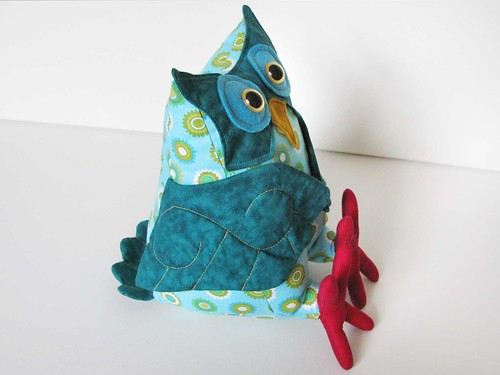
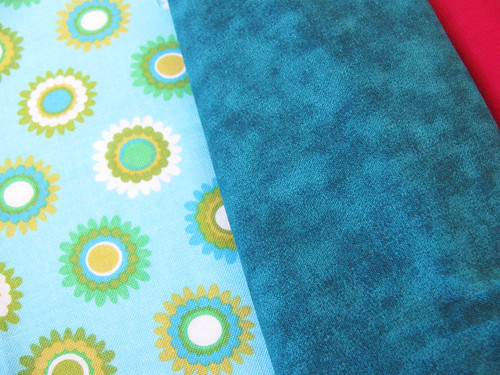
Choose some nice bright fabrics for your toy owl. I used cotton fabric BUT you can use stretchy/knit fabrics like fleece for a more cuddly feel, or corduroy for some funky texture!
OK, let’s get cracking…
with the TUTORIAL!
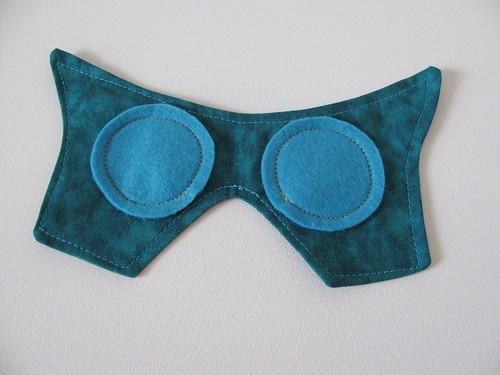
Step 1 – Sew the owl’s face.
Sew the owl FACE PIECES together and turn it right side out. Sew a line of stitches around the edges.

Sew the felt EYE PIECES to the Owl’s FACE.
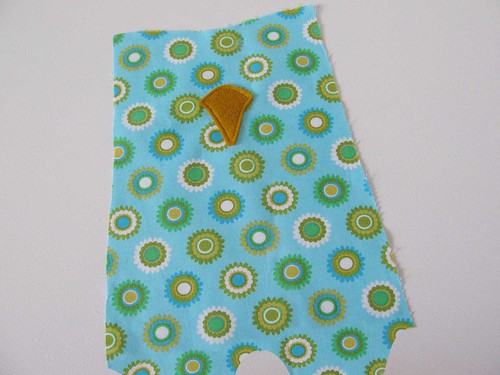
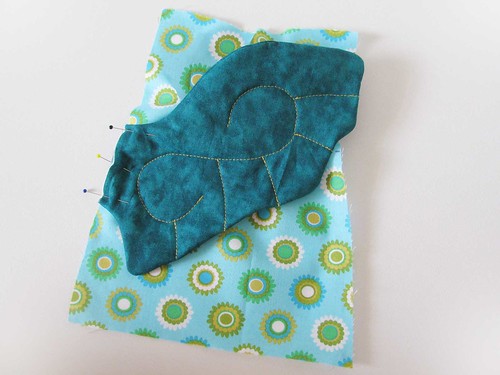
Step 2 – Add a beak.
Cut the BEAK PIECE from felt. Use the pattern markings as a guide to position the BEAK PIECE and sew it onto the FRONT PIECE.
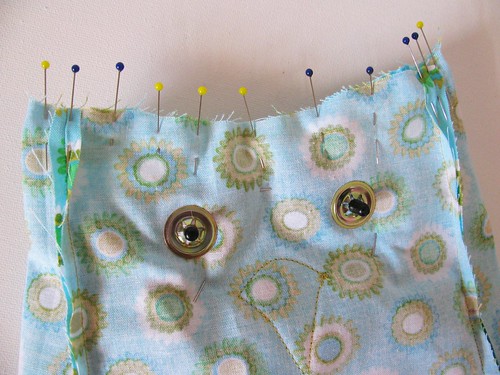
Pin
the FACE PIECES in position just above the BEAK PIECE. Use a sharp
scissors to cut a hole through all the layers and insert the safety
eyes.
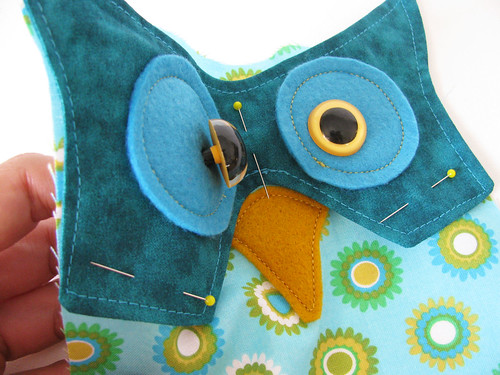
Fold and pin the FACE to the FRONT PIECE so that it will not get caught in the seams when you sew the owl together.
* Poor Owl – looks like he has a HEADACHE!!!!!
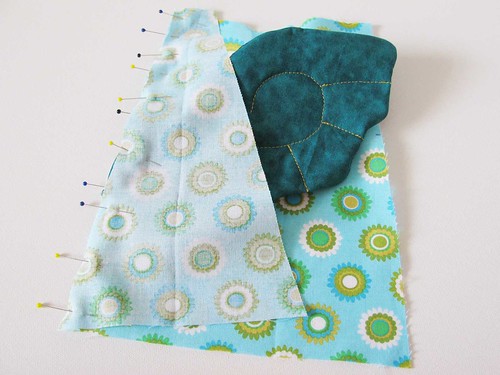
Step 3 – Make some wings.
Sew the WING PIECES in pairs onto a piece of quilt battling (with right sides of the fabric together)
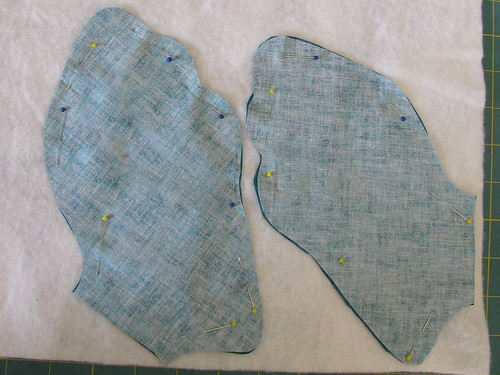
Trim the battling very close to the sewing line.

Snip the seams of the WING PIECES before turning them right sides out.
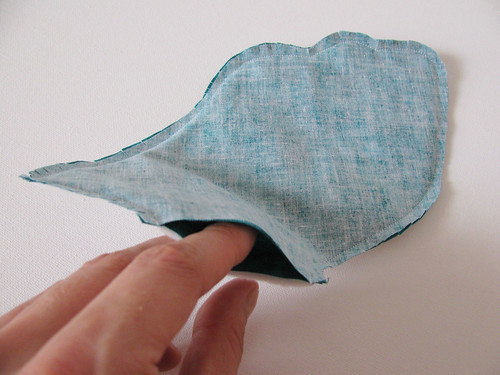
Sew
the top stitches on the WING PIECES as shown in the pattern markings.
You can also make up your own squiggly pattern for the top stitching if
you want to! 

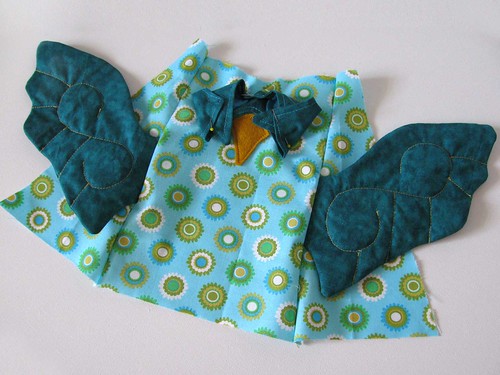
Step 4 – Sew the wings in place.
Pin one WING to the BACK PIECE as shown on the pattern markings.
With the WING in between, sew the SIDE PIECE to the BACK PIECE.
REPEAT for the 2nd WING on the other side.
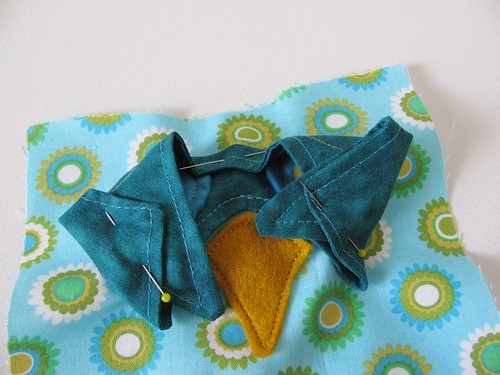
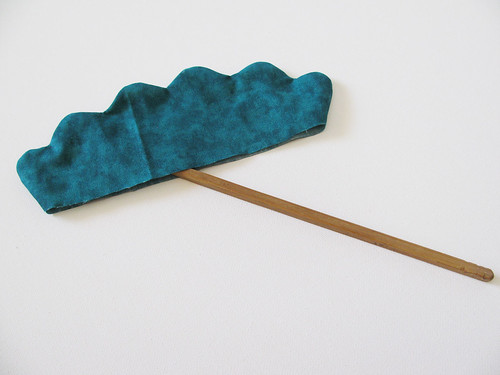
Step 5 – Sew the TAIL.
Sew the TAIL PIECES and clip the seams well.
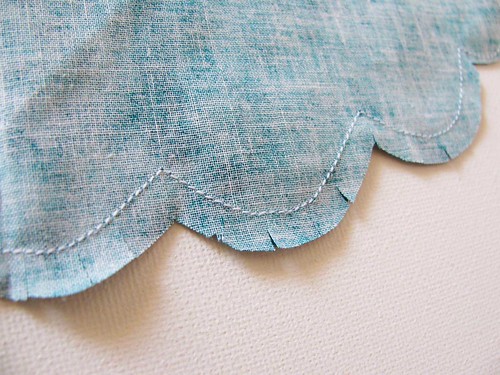
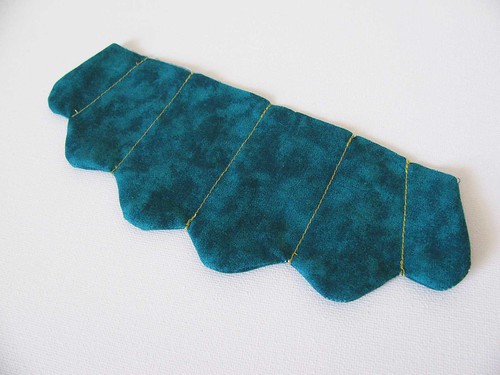
Turn the TAIL PIECES right sides out very well before sewing the top stitches. I use a wooden chopstick to help me with this!
Sew the tail top stitches as shown in the pattern markings.
Pin and sew the tail to the BACK PIECE.

Step 6 – Sew the body closed.
Sew the BACK PIECES to the SIDE PIECES on the sides. Then Pin and sew the BACK and FRONT pieces together at the top.
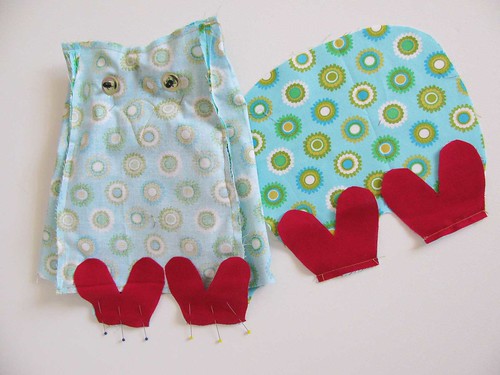
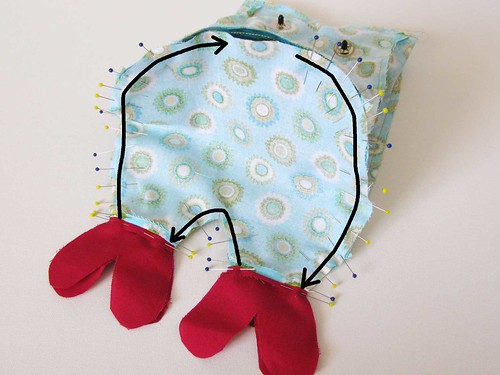
Step 7 – Sew the owl’s CLAWS.
Make sure you have cut out 2 CLAW PIECES and 4 HALF CLAW PIECES.

Sew 2 of the HALF CLAW PIECES to the FRONT PIECE(on the left) and the other 2 HALF CLAW PIECES to the BASE PIECE (on the right).
Sew the BASE PIECE to the body and don’t forget to LEAVE A GAP for turning and stuffing!
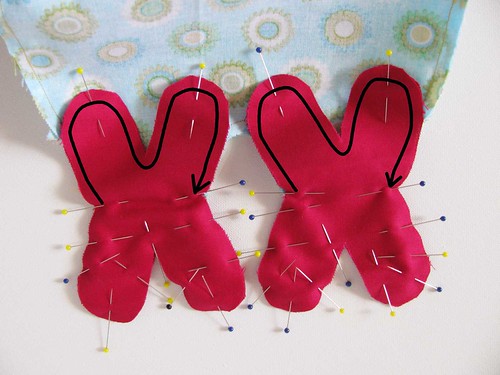
Pin
and sew the claw pieces to the HALF CLAW PIECES as shown here. It’s
MUCH EASIER if you ONLY sew in 2 steps – sew the top first, turn it
around and then sew the other 2 halves of the CLAWS.
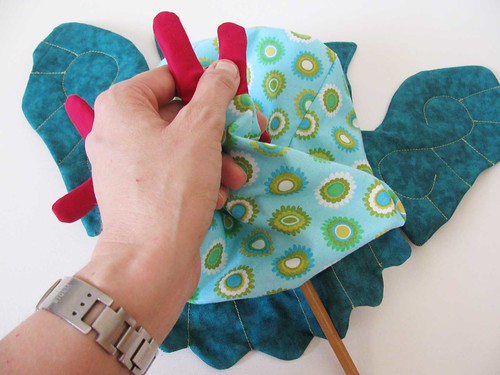
Step 8 – turn the owl right sides out.
Using
a turning tool, turn your owl right sides out. Make sure all the parts
are properly turned before stuffing. ( I used an my wooden chopstick!)
Step 9 – Stuff your owl with toy stuffing.
Make
sure to stuff the claws very well so they are nice and firm. For the
body start using small bits of stuffing to get right into the corners,
then fill the rest of the body.
ALL done!
NOW you can make a GIRLY owl too!!

Свет , спасибо , обязательное сошью совушку , такая шкодная ...
ОтветитьУдалитьУбери граф код в коментах , плиз...
Лена, каонечно сшей я обязательно!!Ок, убрала, оказывается он был по умолчанию!!
ОтветитьУдалить